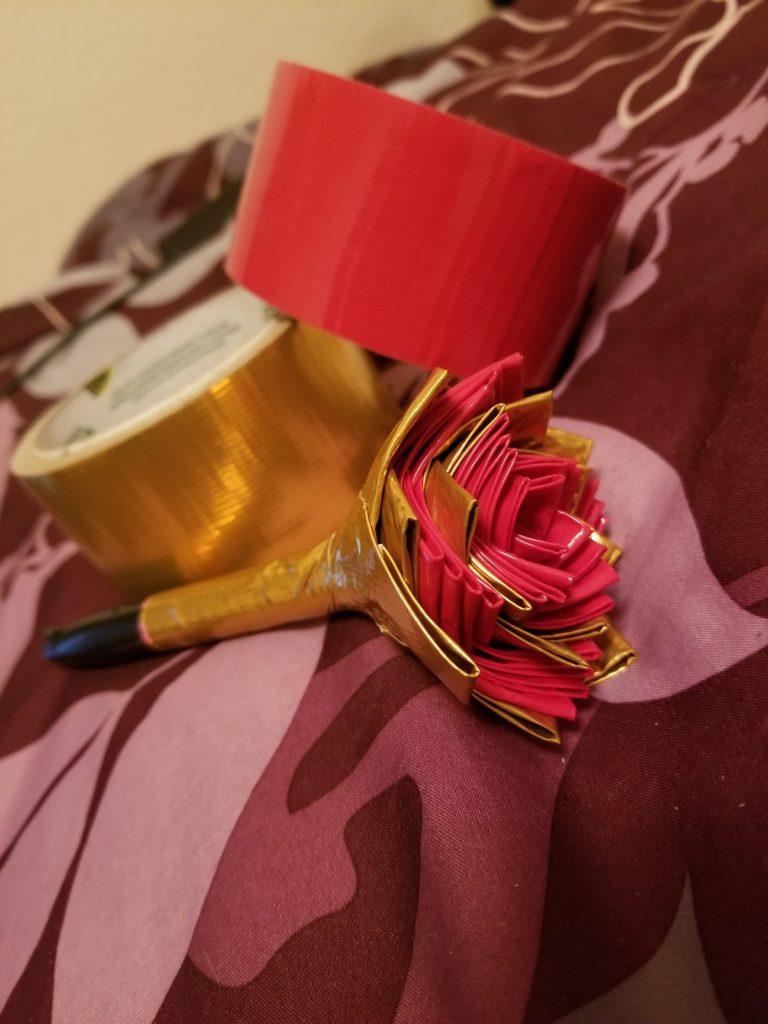
DIY: Rose Pen
By Diego Guerrero
Would you like to take an everyday item and make it a work of art? Look around your room and think about what needs a small touch of your own personality. With DIY, students can take a dull gift and instead make something that expresses their character and thought in something simple, like a rose pen.
DIY or “Do It Yourself” projects are also helpful in the way of organization, convenience and even just for aesthetics. There are many ways of personalizing items, you just have to simply be a bit creative. From wallets to notebooks, projects like these are an amazing hobby to get into. This project takes the idea of origami and applies it to duct tape. The rose pen that I made for this DIY project didn’t require much money or supplies, but the end product does make for a great gift.
“DIY projects are very intriguing to make. Usually I post pictures of my friends and family on my wall, and assignments so I won’t forget them, I guess that’s my way of personalizing,” said junior Valery Zurita.
Here are the steps to making a duct tape rose pen:
- 1. First you will need duct tape, any color of your choice.
- 2. Find a writing utensil.
- 3. Lastly, you will need scissors.
- 4. Cover the pen or pencil grip with duct tape, make sure it is still functional.
- 5. Cut a two inch pieces for the pedals.
- 6. Fold a corner of the tape to about a centimeter away from the other edge, make sure to leave enough sticky part of the tape so that it will be held to the pen.
- 7. Fold the other corner in so that it makes a triangle still leaving enough stickiness to hold it firmly on the pen.
- 8. Then repeat steps 5 through 7 pasting the individual pedals to the pen with any kind of color pattern you wish.
- 9. Lastly you should end up with a functional pen with a rose at the top.


